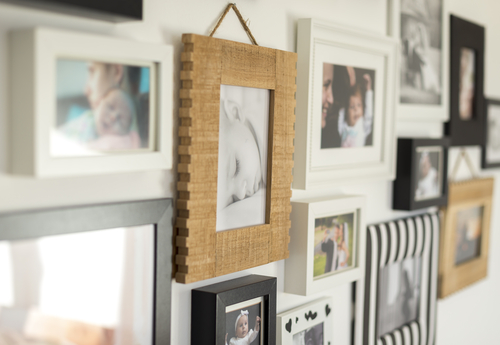
Whether you want to showcase family photos or your collection of art prints, a photo gallery wall is a great way to transform any room. But there's much more to it than just hanging up a few frames together. That's why we've created this guide to help you make the perfect gallery wall to suit and showcase your style.
First things first
Putting a personal touch on your new build home is often a priority once you have unpacked your boxes. Before you begin hanging anything, you'll need to consider the space you have available and the style you're looking to achieve. Here are some things you should think about:
- Materials - Don't be afraid to mix it up. Why not try incorporating lots of different elements into your gallery wall, such as lighting, sculptural pieces and mirrors? These can really help bring it to life and make it truly unique.
- Colour or monochrome? - Would your room be more suited to a full-colour photo wall or a black and white one? If you can't decide, why not meet in the middle by using a series of black and white images and adding just a splash of colour?
- Finding the right frames - Do you want all the frames to be the same size, colour and style? Or do you prefer a mismatched look?
- Arrangement - Do you want your gallery in a grid style or a more random layout? Is the artwork itself varied or does it all follow a similar visual style?
Laying it out
Once you've gathered your pieces for your photo gallery wall and framed them, it's a good idea to lay them all out on the floor. From here, you can rearrange your layout until you've found the perfect fit.
- Start with a large centrepiece and build out with smaller pieces around it.
- Look for inspiration online while you're trying to figure out your favourite composition.
- Take photos on your phone to help you decide which layout you prefer.
Mocking it up
Now you've settled on a layout, you'll need to check that the composition works on the wall, too. The best way to do this is to trace each frame onto a piece of paper, cut it to size and tape it to the wall in the same arrangement.
- Does it fill the space well?
- Have you placed it at the right height?
- Does it work well with the furniture in the room?
Hanging it up
Once you're happy with the composition, it's time to start hanging your frames. Make the most of your paper mock-ups and mark on each piece where the nail should be placed. Then, place the nail directly over the mark and hammer it into the wall. From here, you can simply peel the paper away. Alternatively, you can use self-adhesive hanging strips instead of nails. Then you're ready to hang up your frames.
Once all the frames are up, all that's left to do is sit back, relax and enjoy your balanced and beautiful photo gallery wall.


